how-to-build-a-native-cross-platform-project-with-flutter
Learn how to import `dart:html` and `dart:io` in the same Flutter project to create cross-platform plugins that work seamlessly on mobile and web.
What this skill does
# How to build a native cross platform project with Flutter
Import dart:html and dart:io in the same project!
> **TLDR** The final source [here](https://github.com/rodydavis/flutter_x/tree/finish).
Up to now you have been able to create projects with Flutter that run on iOS/Android, Web and Desktop but only sharing pure dart plugins.
Flutter launched _Flutter for web_ at Google I/O and was a temporary fork that required you to change imports from `import 'package:flutter/material.dart';` to `import 'package:flutter_web/material.dart';`.
As you can image this was really difficult for a code base as you had to create a fork and change the imports. This also meant that you could not import any package that needed on a path or depended on flutter. The time as come and the merge is complete. Now you no longer need to change the imports!

You can use any plugin now, have a debugger, create new flutter projects with the web folder added, web plugins, and so much more..
## Disclaimer
You will need to be on the latest flutter for this to work.
[Download Flutter](https://flutter.io/get-started/install/)

If you are pretty new to Flutter you can check out [this useful guide](https://flutter.io/get-started/codelab/) on how to create a new project step by step.
Create a new project named **flutter\_x** and it should look like this:
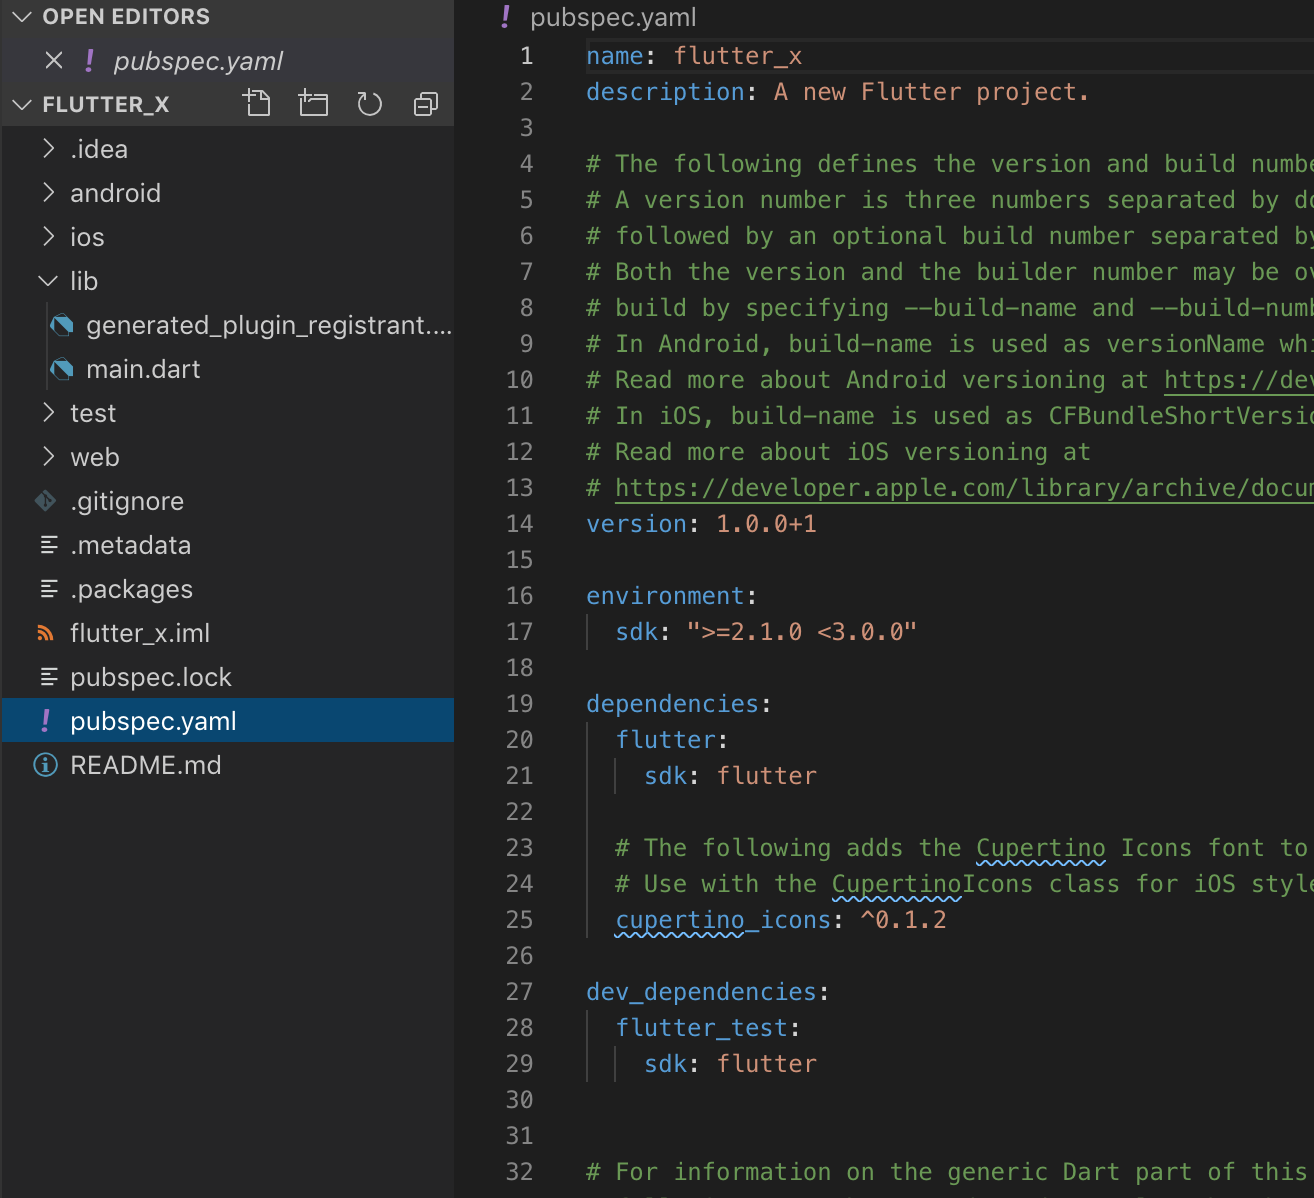
You can also down the starter project [here](https://github.com/rodydavis/flutter_x/tree/starter).
Your code should look like this:
```
import 'package:flutter/material.dart';
void main() => runApp(MyApp());
class MyApp extends StatelessWidget {
// This widget is the root of your application.
@override
Widget build(BuildContext context) {
return MaterialApp(
title: 'Flutter Demo',
theme: ThemeData(
// This is the theme of your application.
//
// Try running your application with "flutter run". You'll see the
// application has a blue toolbar. Then, without quitting the app, try
// changing the primarySwatch below to Colors.green and then invoke
// "hot reload" (press "r" in the console where you ran "flutter run",
// or simply save your changes to "hot reload" in a Flutter IDE).
// Notice that the counter didn't reset back to zero; the application
// is not restarted.
primarySwatch: Colors.blue,
),
home: MyHomePage(title: 'Flutter Demo Home Page'),
);
}
}
class MyHomePage extends StatefulWidget {
MyHomePage({Key key, this.title}) : super(key: key);
// This widget is the home page of your application. It is stateful, meaning
// that it has a State object (defined below) that contains fields that affect
// how it looks.
// This class is the configuration for the state. It holds the values (in this
// case the title) provided by the parent (in this case the App widget) and
// used by the build method of the State. Fields in a Widget subclass are
// always marked "final".
final String title;
@override
_MyHomePageState createState() => _MyHomePageState();
}
class _MyHomePageState extends State<MyHomePage> {
int _counter = 0;
void _incrementCounter() {
setState(() {
// This call to setState tells the Flutter framework that something has
// changed in this State, which causes it to rerun the build method below
// so that the display can reflect the updated values. If we changed
// _counter without calling setState(), then the build method would not be
// called again, and so nothing would appear to happen.
_counter++;
});
}
@override
Widget build(BuildContext context) {
// This method is rerun every time setState is called, for instance as done
// by the _incrementCounter method above.
//
// The Flutter framework has been optimized to make rerunning build methods
// fast, so that you can just rebuild anything that needs updating rather
// than having to individually change instances of widgets.
return Scaffold(
appBar: AppBar(
// Here we take the value from the MyHomePage object that was created by
// the App.build method, and use it to set our appbar title.
title: Text(widget.title),
),
body: Center(
// Center is a layout widget. It takes a single child and positions it
// in the middle of the parent.
child: Column(
// Column is also a layout widget. It takes a list of children and
// arranges them vertically. By default, it sizes itself to fit its
// children horizontally, and tries to be as tall as its parent.
//
// Invoke "debug painting" (press "p" in the console, choose the
// "Toggle Debug Paint" action from the Flutter Inspector in Android
// Studio, or the "Toggle Debug Paint" command in Visual Studio Code)
// to see the wireframe for each widget.
//
// Column has various properties to control how it sizes itself and
// how it positions its children. Here we use mainAxisAlignment to
// center the children vertically; the main axis here is the vertical
// axis because Columns are vertical (the cross axis would be
// horizontal).
mainAxisAlignment: MainAxisAlignment.center,
children: <Widget>[
Text(
'You have pushed the button this many times:',
),
Text(
'$_counter',
style: Theme.of(context).textTheme.display1,
),
],
),
),
floatingActionButton: FloatingActionButton(
onPressed: _incrementCounter,
tooltip: 'Increment',
child: Icon(Icons.add),
), // This trailing comma makes auto-formatting nicer for build methods.
);
}
}
```
Just to make sure everything is working go ahead and run the project on iOS/Android.
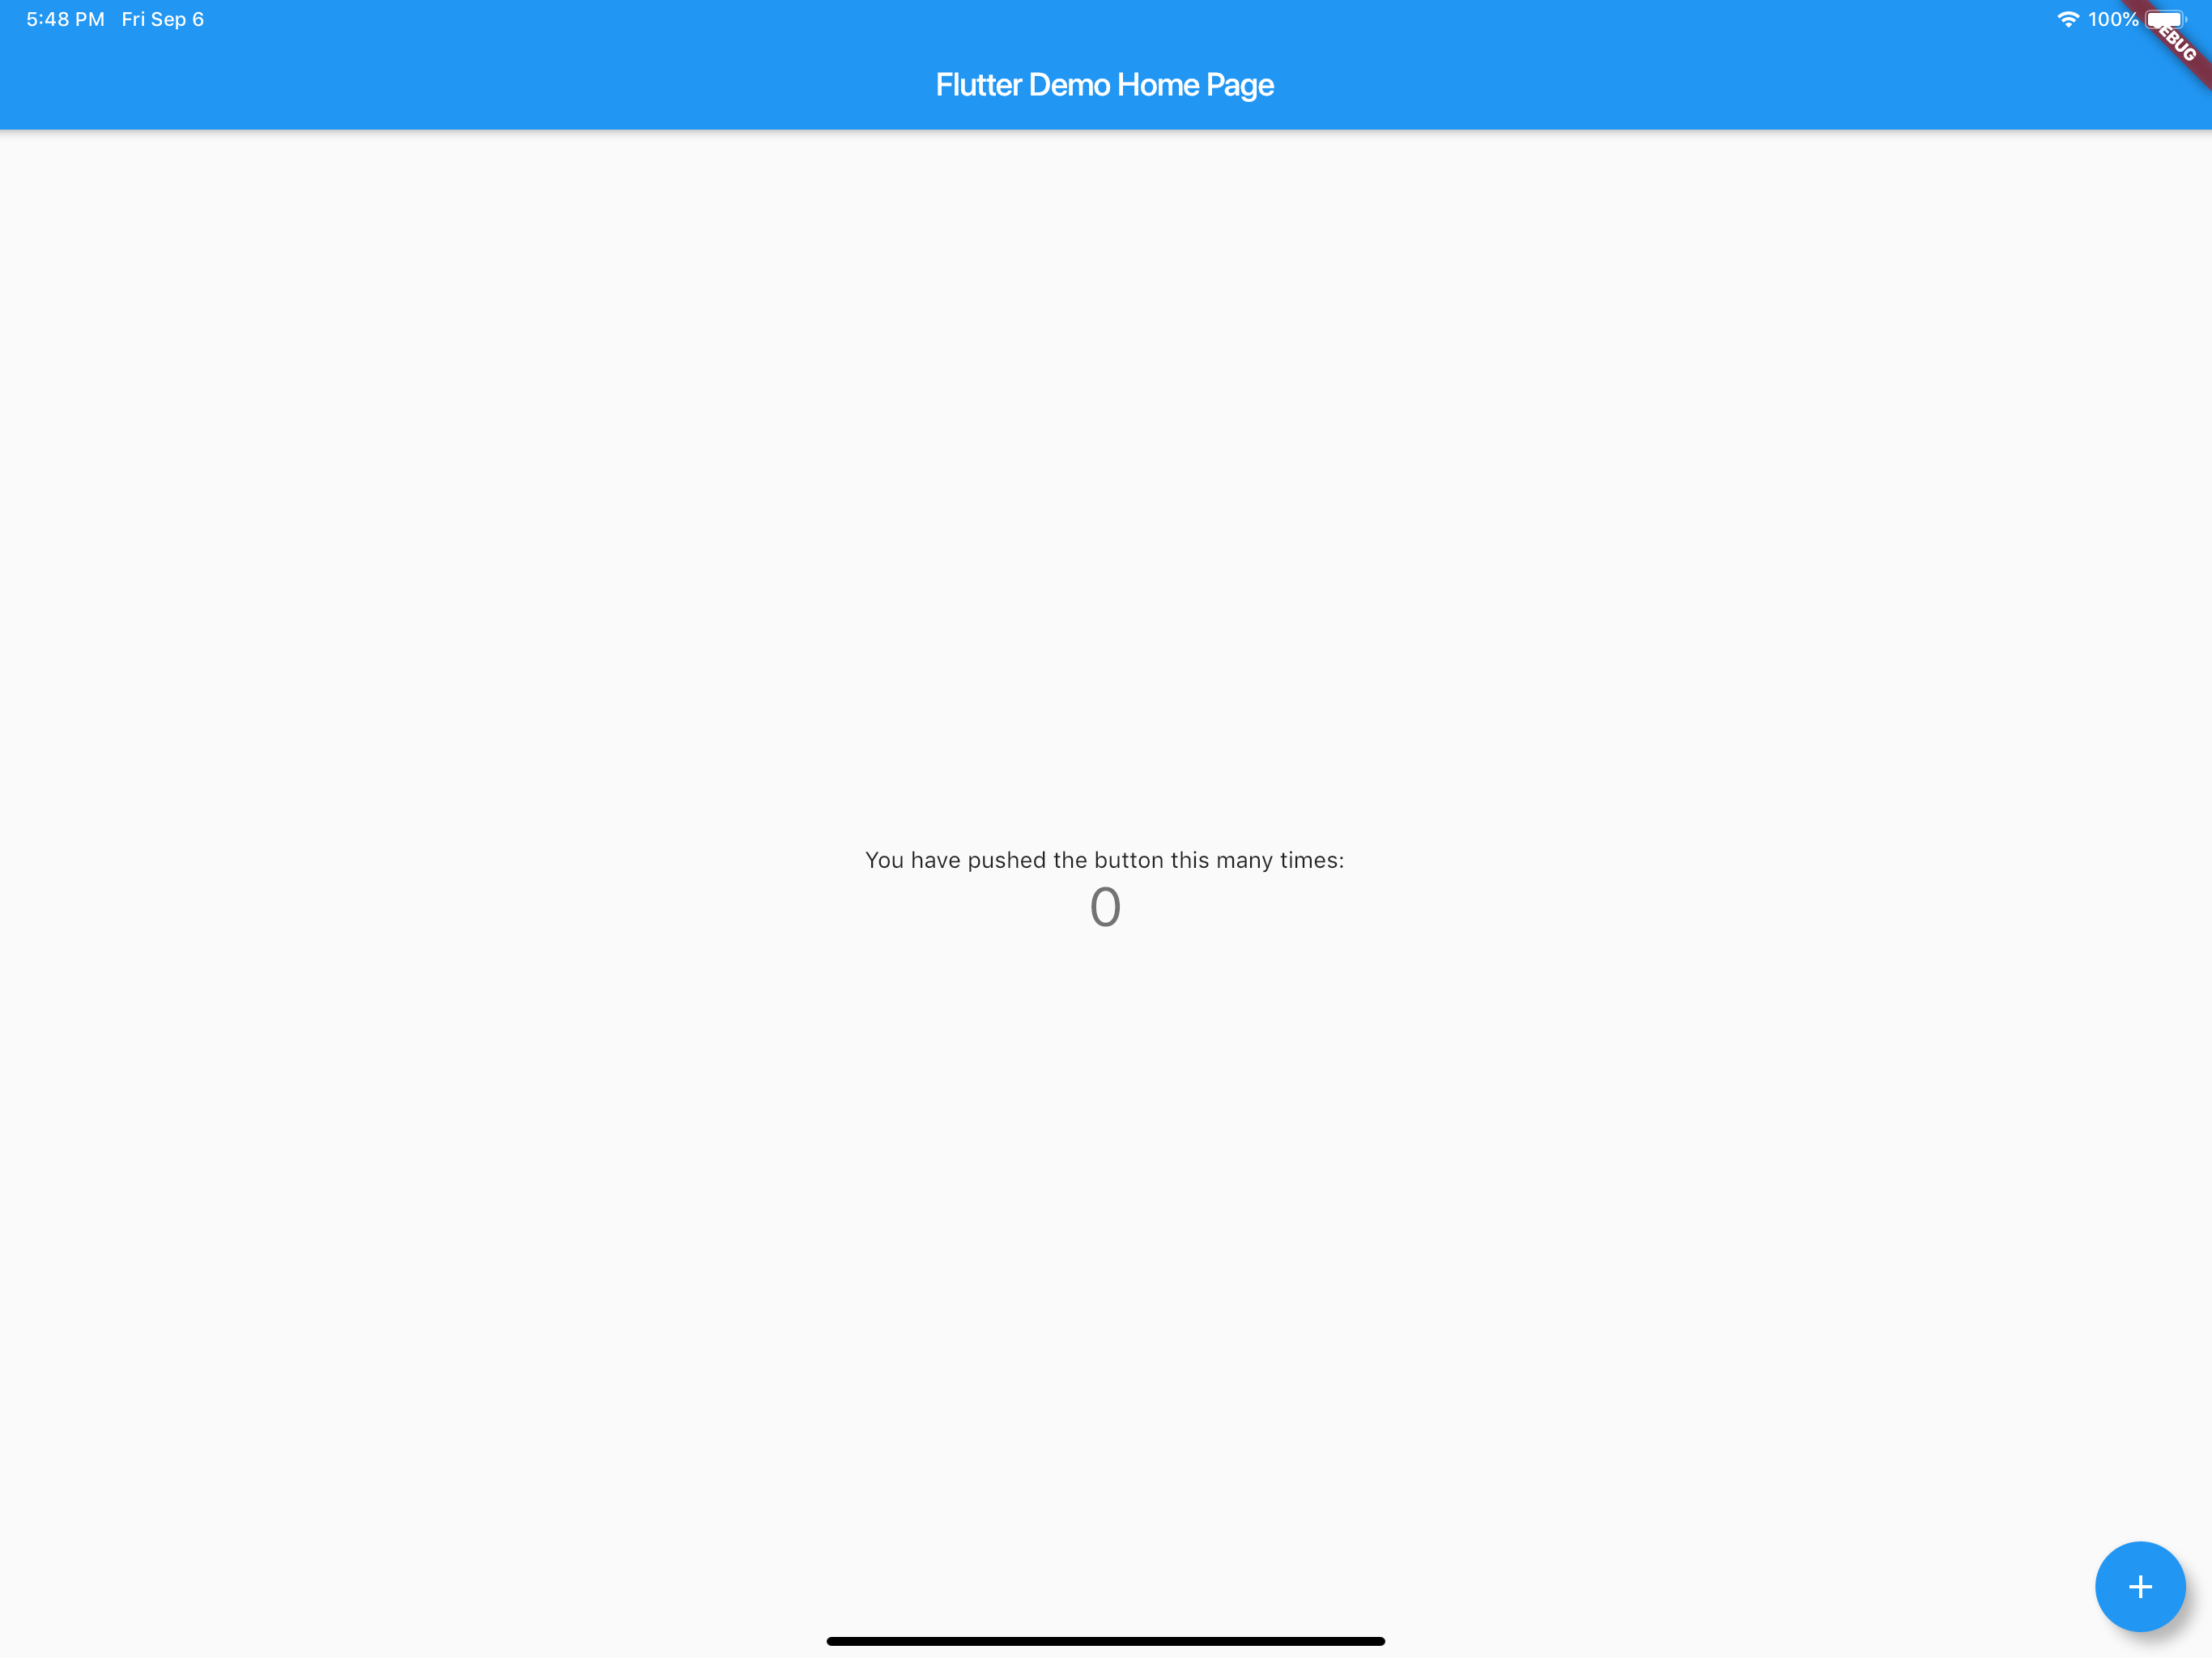
You should have the counter application running and working correctly. Now quit and run on Chrome. It should be listed as a device. You can also run from the command line flutter run -d chrome.
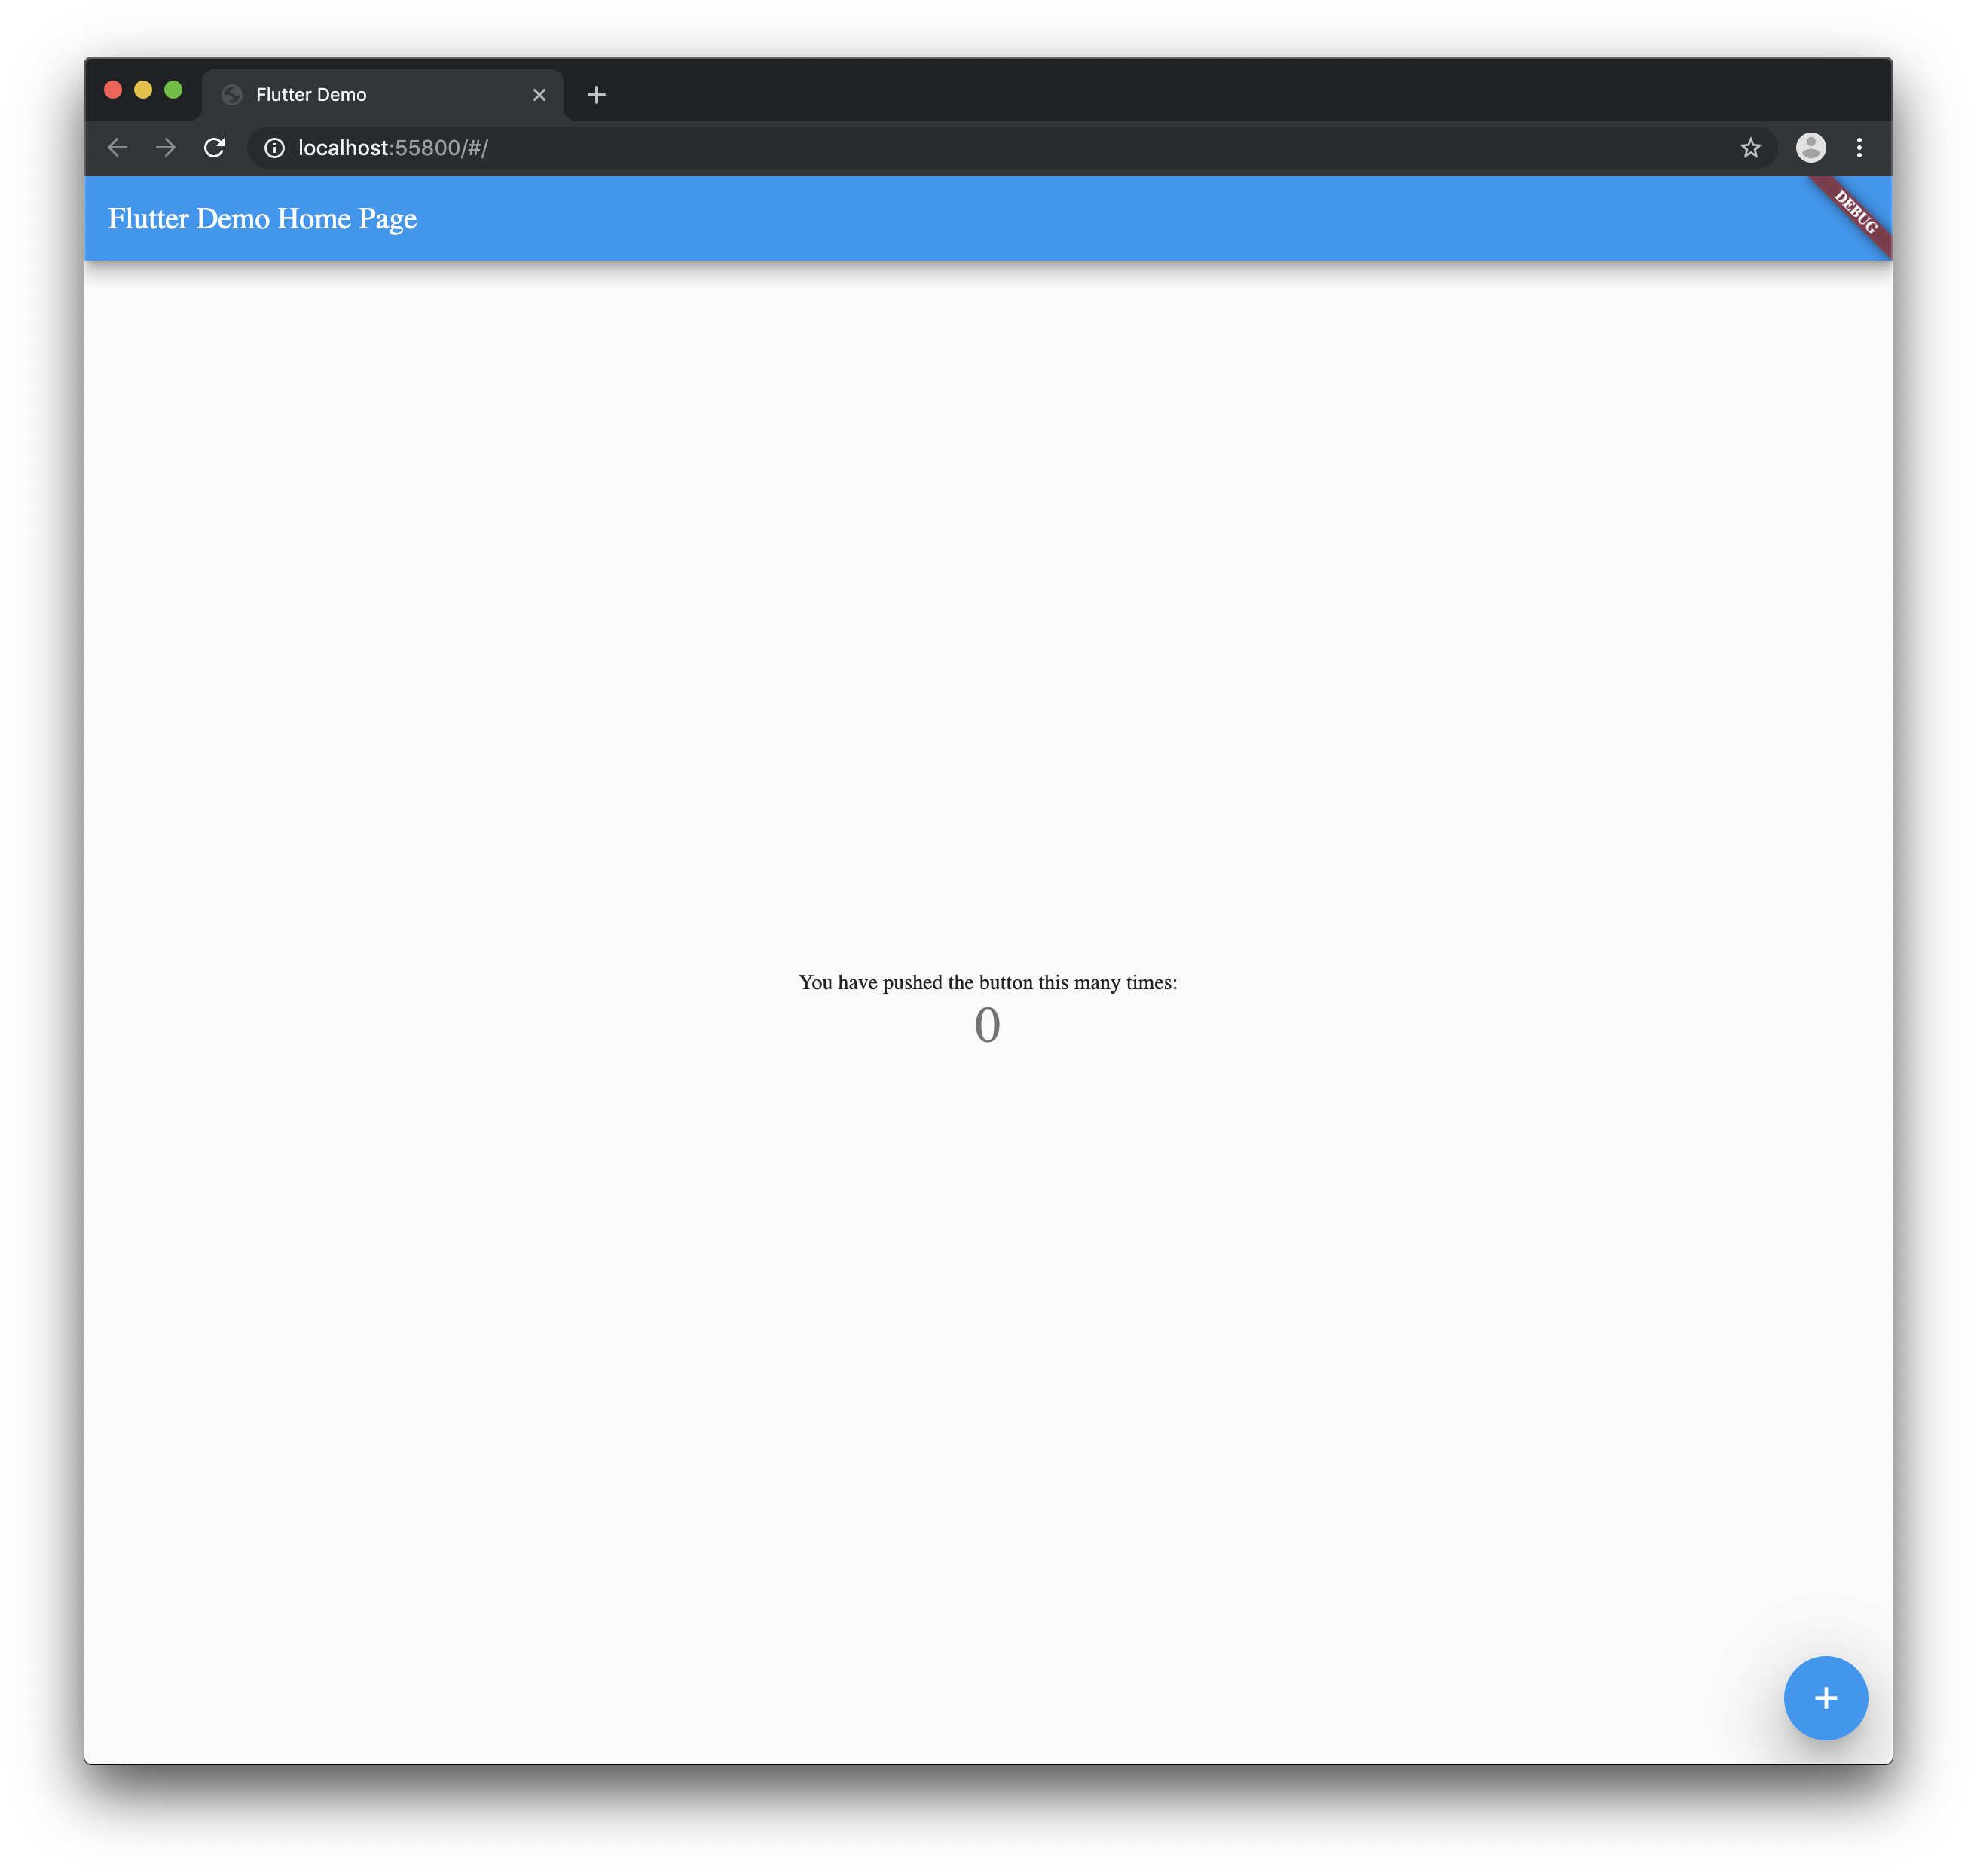
> You do not get hot reload yet on web so be aware of that.
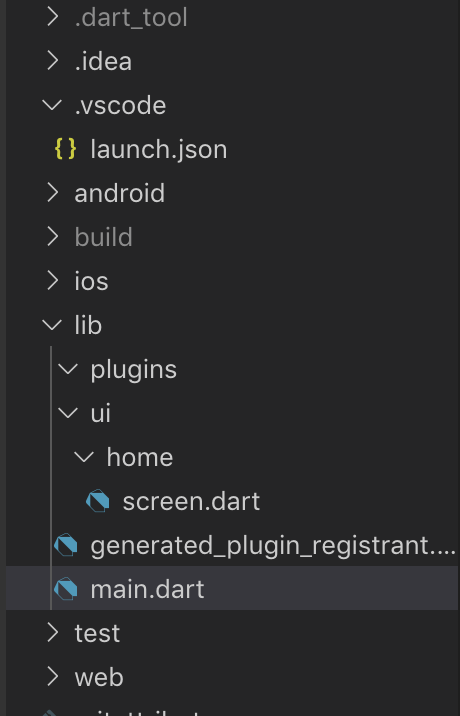
Your project should now look like this.
Open your pubspec.yaml and import the following packages.
```
dependencies:
universal_html:
url_launcher:
```
> You can also remove the comments generated in the pubspec.yaml
Your pubspec.yaml will now read like this:
```
name: flutter_x
description: A new Flutter project.
version: 1.0.0+1
environment:
sdk: ">=2.1.0 <3.0.0"
dependencies:
flutter:
sdk: flutter
cupertino_icons: ^0.1.2
universal_html: ^1.1.0
url_launcher: ^5.1.2
dev_dependencies:
flutter_test:
sdk: flutter
flutter:
uses-material-design: true
```
By default if you were to check if the device was mobile or web you will get an error at compile time when trying to import a plugin that is not meant for the platform. To get around this we will use dynamic imports.
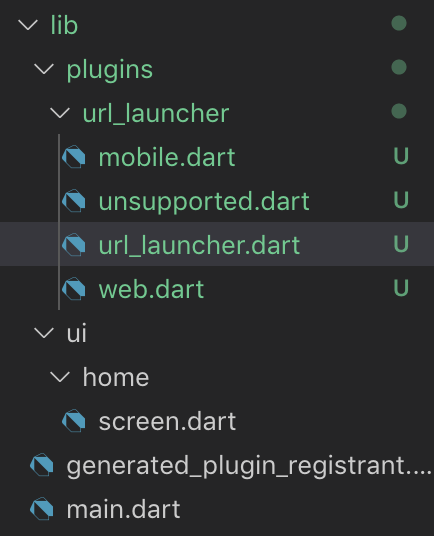
Create a url\_launcher folder and file url\_launcher.dart, mobile.dart, web.dart, unsupported.dart inside the plugins folder.
In the file url\_launcher.dart add the foRelated in Web Dev
generating-lwc-components
IncludedLightning Web Components with PICKLES methodology and 165-point scoring. Use this skill when the user creates or edits LWC components, builds wire service patterns, or writes Jest tests for LWC. TRIGGER when: user creates/edits LWC components, touches lwc/**/*.js, .html, .css, .js-meta.xml files, or asks about wire service, SLDS, or Jest LWC tests. DO NOT TRIGGER when: Apex classes (use generating-apex), Aura components, or Visualforce.
tanstack-query
IncludedManage server state in React with TanStack Query v5. Set up queries with useQuery, mutations with useMutation, configure QueryClient caching strategies, implement optimistic updates, and handle infinite scroll with useInfiniteQuery. Use when: setting up data fetching in React projects, migrating from v4 to v5, or fixing object syntax required errors, query callbacks removed issues, cacheTime renamed to gcTime, isPending vs isLoading confusion, keepPreviousData removed problems.
document-processor-api
IncludedProcess documents with Nutrient DWS. Use when the user wants to generate PDFs from HTML or URLs, convert Office/images/PDFs, assemble or split packets, OCR scans, extract text/tables/key-value pairs, redact PII, watermark, sign, fill forms, optimize PDFs, or produce compliance outputs like PDF/A or PDF/UA. Triggers include convert to PDF, merge these PDFs, OCR this scan, extract tables, redact PII, sign this PDF, make this PDF/A, or linearize for web delivery.
nutrient-document-processing
IncludedProcess documents with Nutrient DWS. Use when the user wants to generate PDFs from HTML or URLs, convert Office/images/PDFs, assemble or split packets, OCR scans, extract text/tables/key-value pairs, redact PII, watermark, sign, fill forms, optimize PDFs, or produce compliance outputs like PDF/A or PDF/UA. Triggers include convert to PDF, merge these PDFs, OCR this scan, extract tables, redact PII, sign this PDF, make this PDF/A, or linearize for web delivery.
tanstack-query
IncludedManage server state in React with TanStack Query v5. Covers useMutationState, simplified optimistic updates, throwOnError, network mode (offline/PWA), and infiniteQueryOptions. Use when setting up data fetching, fixing v4→v5 migration errors (object syntax, gcTime, isPending, keepPreviousData), or debugging SSR/hydration issues with streaming server components.
accelint-nextjs-best-practices
IncludedNext.js performance optimization and best practices. Use when writing Next.js code (App Router or Pages Router); implementing Server Components, Server Actions, or API routes; optimizing RSC serialization, data fetching, or server-side rendering; reviewing Next.js code for performance issues; fixing authentication in Server Actions; or implementing Suspense boundaries, parallel data fetching, or request deduplication.