how-to-run-astro-ssr-and-pocketbase-on-the-same-server
Learn how to host PocketBase and an Astro SSR application on the same server, using PocketBase's Go integration and a reverse proxy to delegate requests to Astro for dynamic web content.
What this skill does
# How to Run Astro SSR and PocketBase on the Same Server
In this article I will show you how to host [PocketBase](https://pocketbase.io/) and [Astro in SSR](https://docs.astro.build/en/guides/server-side-rendering/) mode on the same server. PocketBase does let you [render templates](https://pocketbase.io/docs/go-rendering-templates/) on the server but requires [Go Templates](https://pkg.go.dev/text/template) or pre-building with Static Site Generation (SSG).
> This could also be modified to use your web server or framework of choice ([Next.js](https://nextjs.org/docs/pages/building-your-application/rendering/server-side-rendering), [SvelteKit](https://kit.svelte.dev/docs/page-options), [Qwik](https://qwik.builder.io/), [Angular](https://angular.io/guide/ssr)).
Before getting started make sure you have the latest version of [Node](https://nodejs.org/en/blog/announcements/v19-release-announce) and [Go](https://go.dev/doc/install) installed locally.
## Getting started
In a terminal run the following to create the base project:
```
mkdir pocketbase_astro_ssr
cd pocketbase_astro_ssr
mkdir server
mkdir www
```
This will create the `server` and `www` folders in our project needed for both Astro and PocketBase.
## Setting up the server
Create a file at `server/main.go` and update it with the following:
```
package main
import (
"log"
"net/http/httputil"
"net/url"
"github.com/labstack/echo/v5"
"github.com/pocketbase/pocketbase"
"github.com/pocketbase/pocketbase/core"
)
func main() {
app := pocketbase.New()
app.OnBeforeServe().Add(func(e *core.ServeEvent) error {
proxy := httputil.NewSingleHostReverseProxy(&url.URL{
Scheme: "http",
Host: "localhost:4321",
})
e.Router.Any("/*", echo.WrapHandler(proxy))
e.Router.Any("/", echo.WrapHandler(proxy))
return nil
})
if err := app.Start(); err != nil {
log.Fatal(err)
}
}
```
Here we are extending [PocketBase with Go](https://pocketbase.io/docs/go-overview/) and taking advantage of the [Echo router](https://echo.labstack.com/docs/routing) integration and using a [reverse proxy](https://www.nginx.com/resources/glossary/reverse-proxy-server/#:~:text=A%20reverse%20proxy%20server%20is,traffic%20between%20clients%20and%20servers.) to handle all requests not defined by PocketBase already and delegating them to Astro.
Next run the following in a terminal to install the dependencies:
```
go mod init server
go mod tidy
```
Now we can start the server and move on to the client:
```
go run main.go serve
```
You should see the following and note that this will run in debug mode so all the SQL statements will start to show:
```
2023/11/09 10:28:52 Server started at http://127.0.0.1:8090
├─ REST API: http://127.0.0.1:8090/api/
└─ Admin UI: http://127.0.0.1:8090/_/
```
### Collections
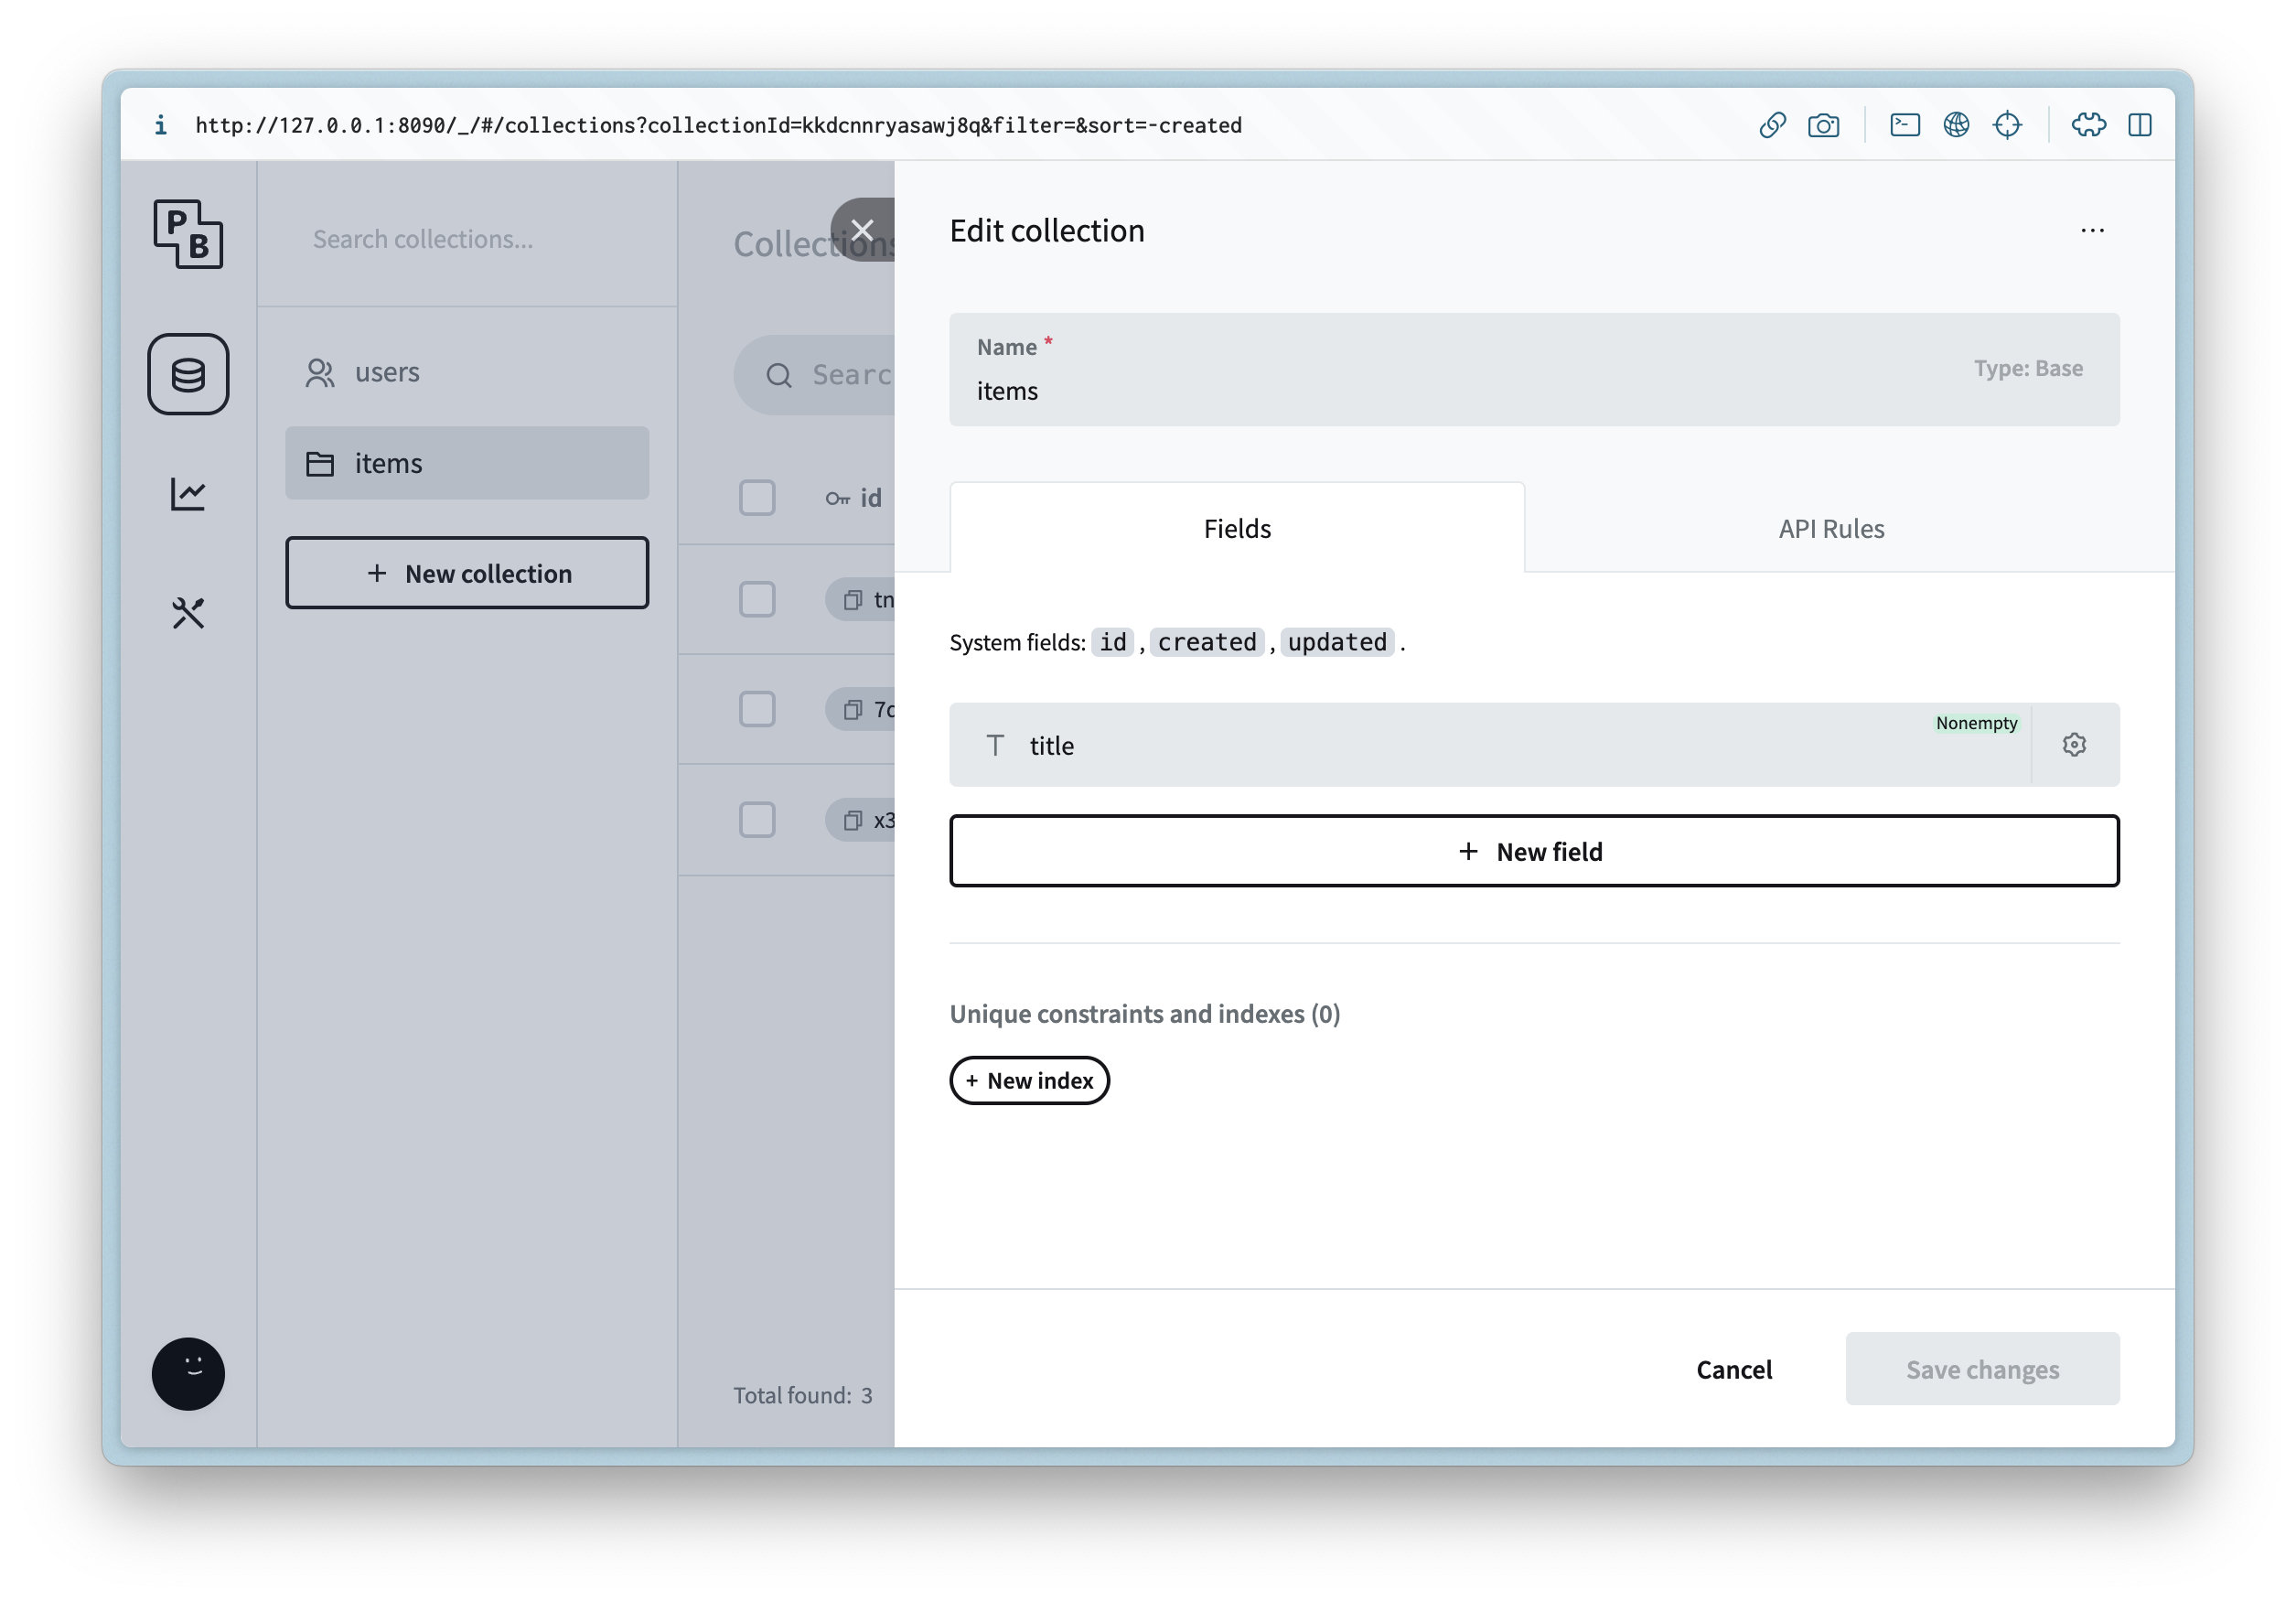
Open up the Admin UI url and after creating a new admin user, create a new collection `items` and add the following metadata:
Column Name
Column Type
Column Settings
title
Plain Text
Then update the API Rules to allow read access for list and view.
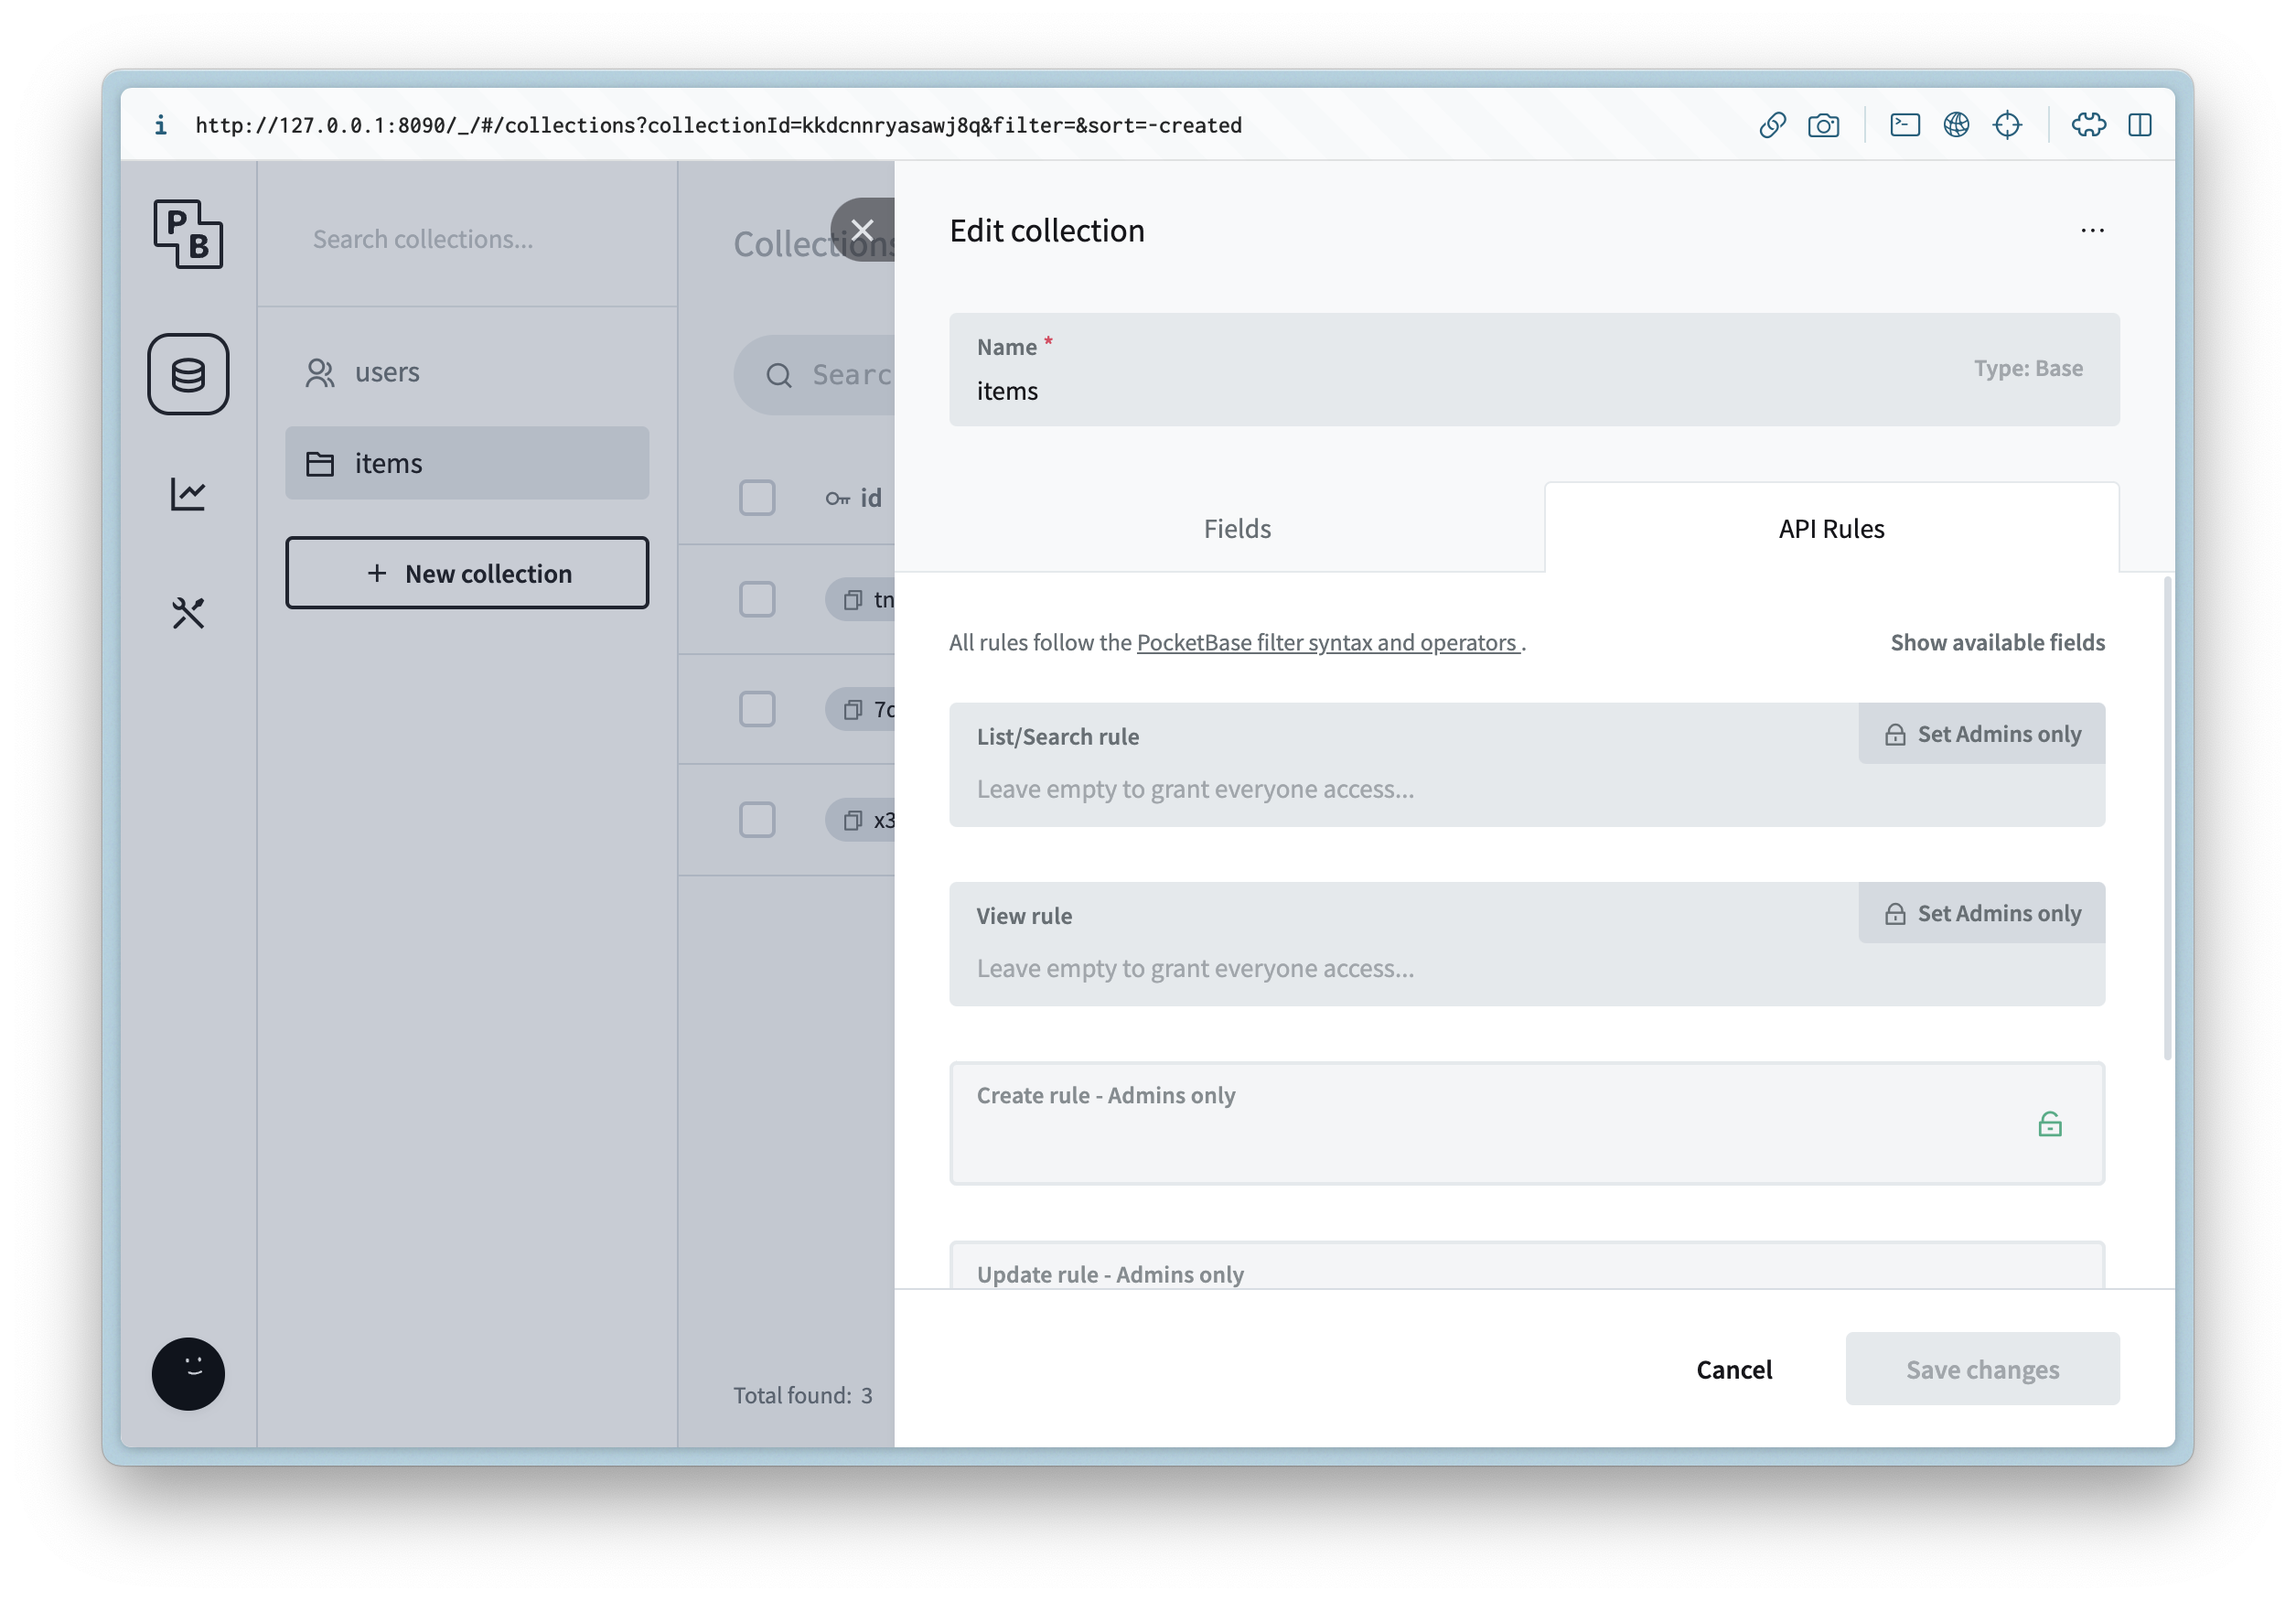
> This is just for example purposes and on a production app you will rely on auth for ACLs
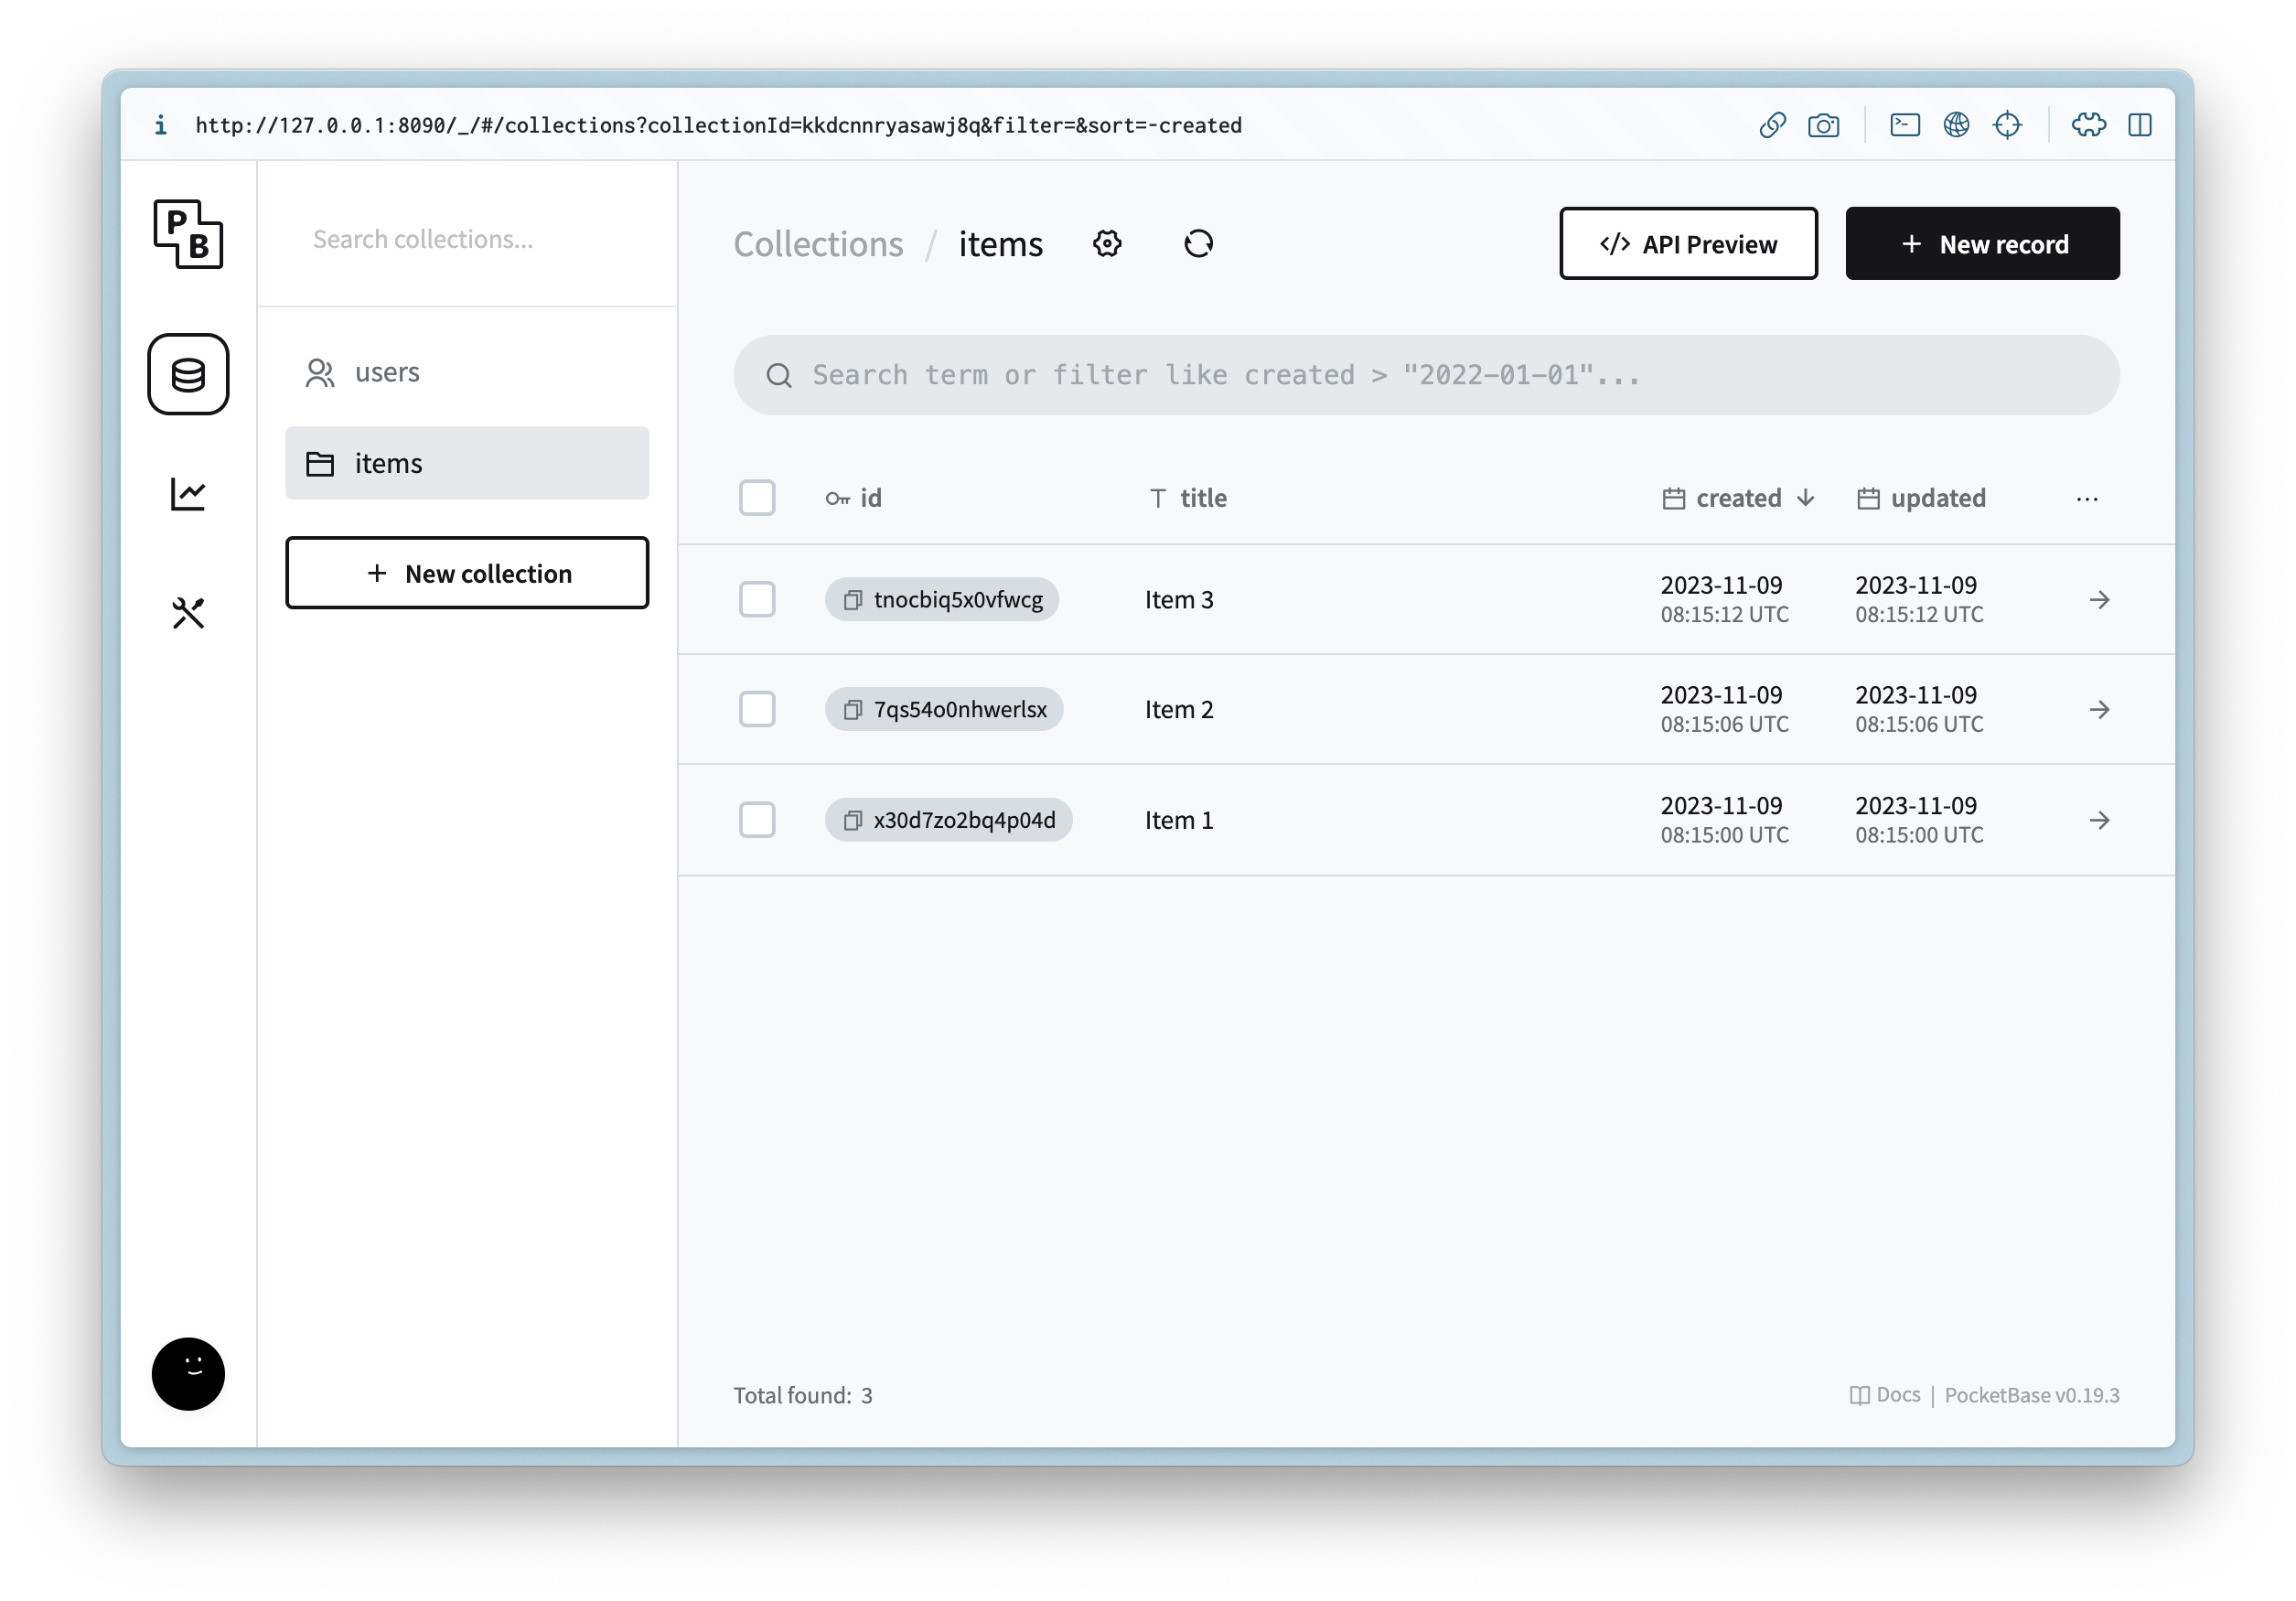
Create 3 new records with placeholder data.
## Creating the client
Now we can create the client that will be used to connect to PocketBase and serve all of the web traffic.
Navigate to the `www` directory and run the following in a terminal:
```
npm create astro@latest
```
Follow the prompts and enter the following:
Question
Answer
Where should we create your new project?
.
How would you like to start your new project?
Empty
Install dependencies?
Yes
Do you plan to write TypeScript?
Yes
How strict should TypeScript be?
Strict
Initialize a new git repository?
No
You can of course customize this as you need, but next we can install the dependencies needed by running the following in a terminal:
```
npm i -D @astrojs/node
npm i pocketbase
```
Next update `www/astro.config.mjs` and update it with the following:
```
import { defineConfig } from "astro/config";
import nodejs from "@astrojs/node";
// https://astro.build/config
export default defineConfig({
adapter: nodejs({
mode: "standalone",
}),
output: "server",
});
```
This will use Server Side Rendering (SSR) instead of Static Site Generation (SSG) when we run the web server.
### UI
#### Layouts
We can start by creating a shared layout for all the routes. Create a file at `www/src/layouts/Root.astro` and update it with the following:
```
---
interface Props {
title: string;
}
const { title } = Astro.props;
---
<html lang="en">
<head>
<meta charset="utf-8" />
<link rel="icon" type="image/svg+xml" href="/favicon.svg" />
<meta name="viewport" content="width=device-width" />
<meta name="generator" content={Astro.generator} />
<title>{title}</title>
</head>
<body>
<slot />
</body>
</html>
```
#### Routes
Now we can update the index `/` route by updating the following file `www/src/pages/index.astro`:
```
---
import Root from "../layouts/Root.astro";
import PocketBase from "pocketbase";
const pb = new PocketBase("http://127.0.0.1:8090");
const items = pb.collection("items");
const records = await items.getFullList();
---
<Root title="Items">
<h1>Items</h1>
<ul>
{
records.map((record) => (
<li>
<a href={`/items/${record.id}`}>{record.title}</a>
</li>
))
}
</ul>
</Root>
```
This will call the `items` collection on the server and render it with 0 JS on the client.
Next create a file `www/src/pages/[...slug].astro` and update it with the following:
```
---
import Root from "../layouts/Root.astro";
import PocketBase from "pocketbase";
const slug = Astro.params.slug!;
const id = slug.split("/").pop()!;
const pb = new PocketBase("http://127.0.0.1:8090");
const items = pb.collection("items");
const records = await items.getList(1, 1, {
filter: `id = '${id}'`,
});
if (records.items.length === 0) {
return new Response("Not found", { status: 404 });
}
const {title} = records.items[0];
---
<Root {title}>
<a href="/">Back</a>
<h1>{title}</h1>
</Root>
```
This is almost like before but now we can return a proper `404` response if not found for an item.
#### Running
Now we can run the web server with the following command:
```
npm run dev
```
You should see the following:
```
> dev
> astro dev
🚀 astro v3.4.4 started in 67ms
┃ Local http://localhost:4321/
┃ Network use --host to expose
```
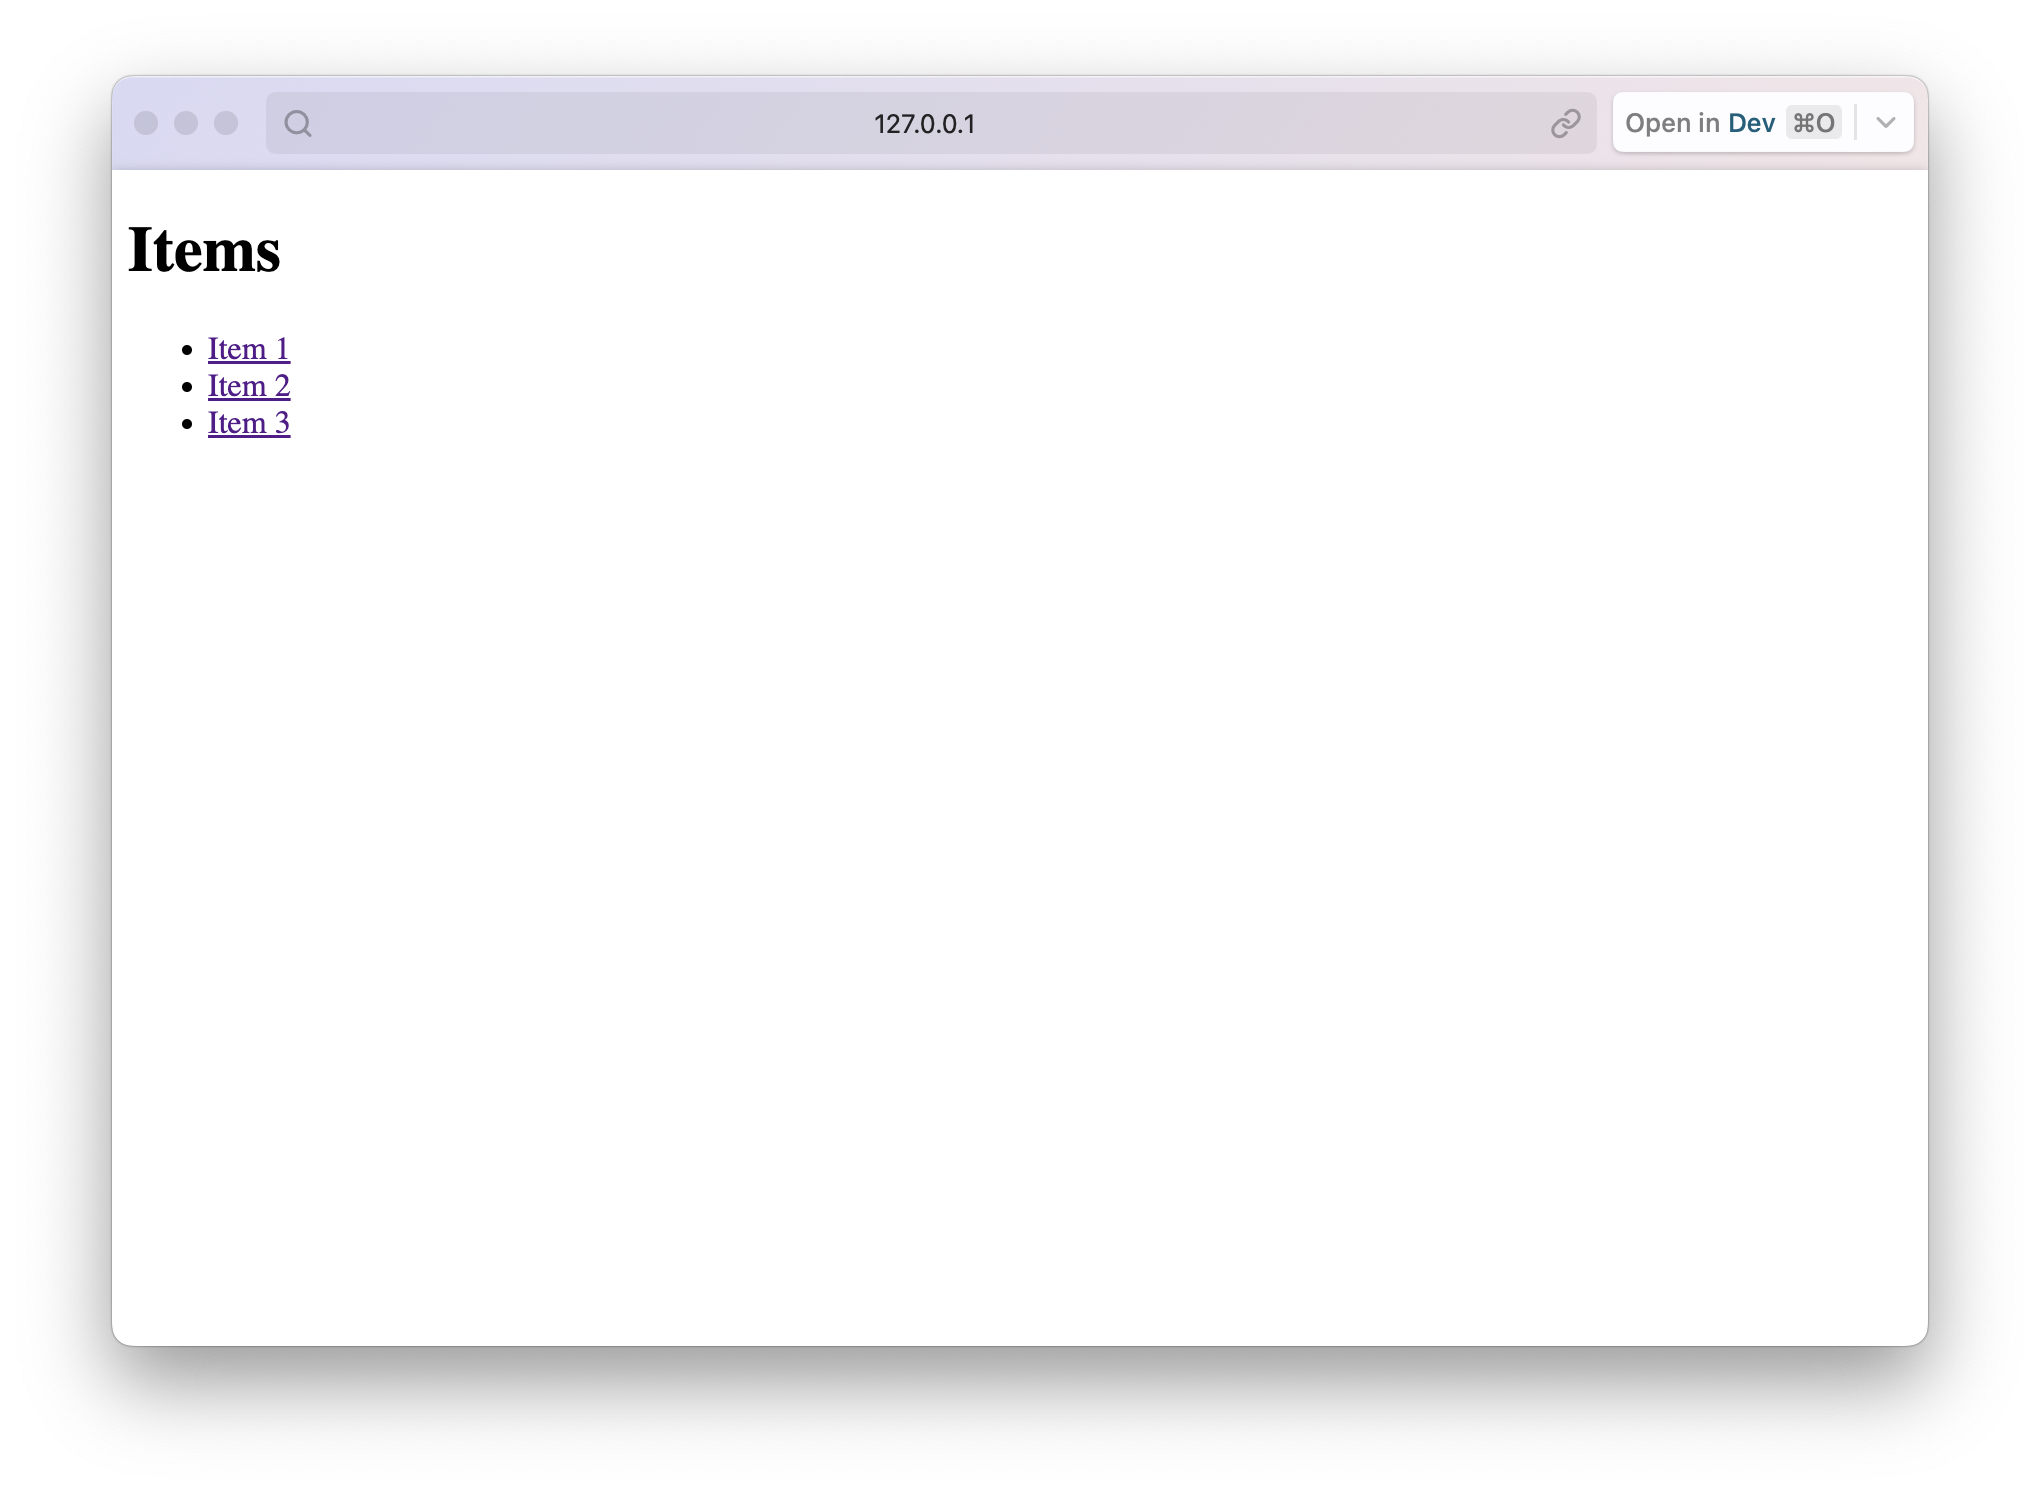
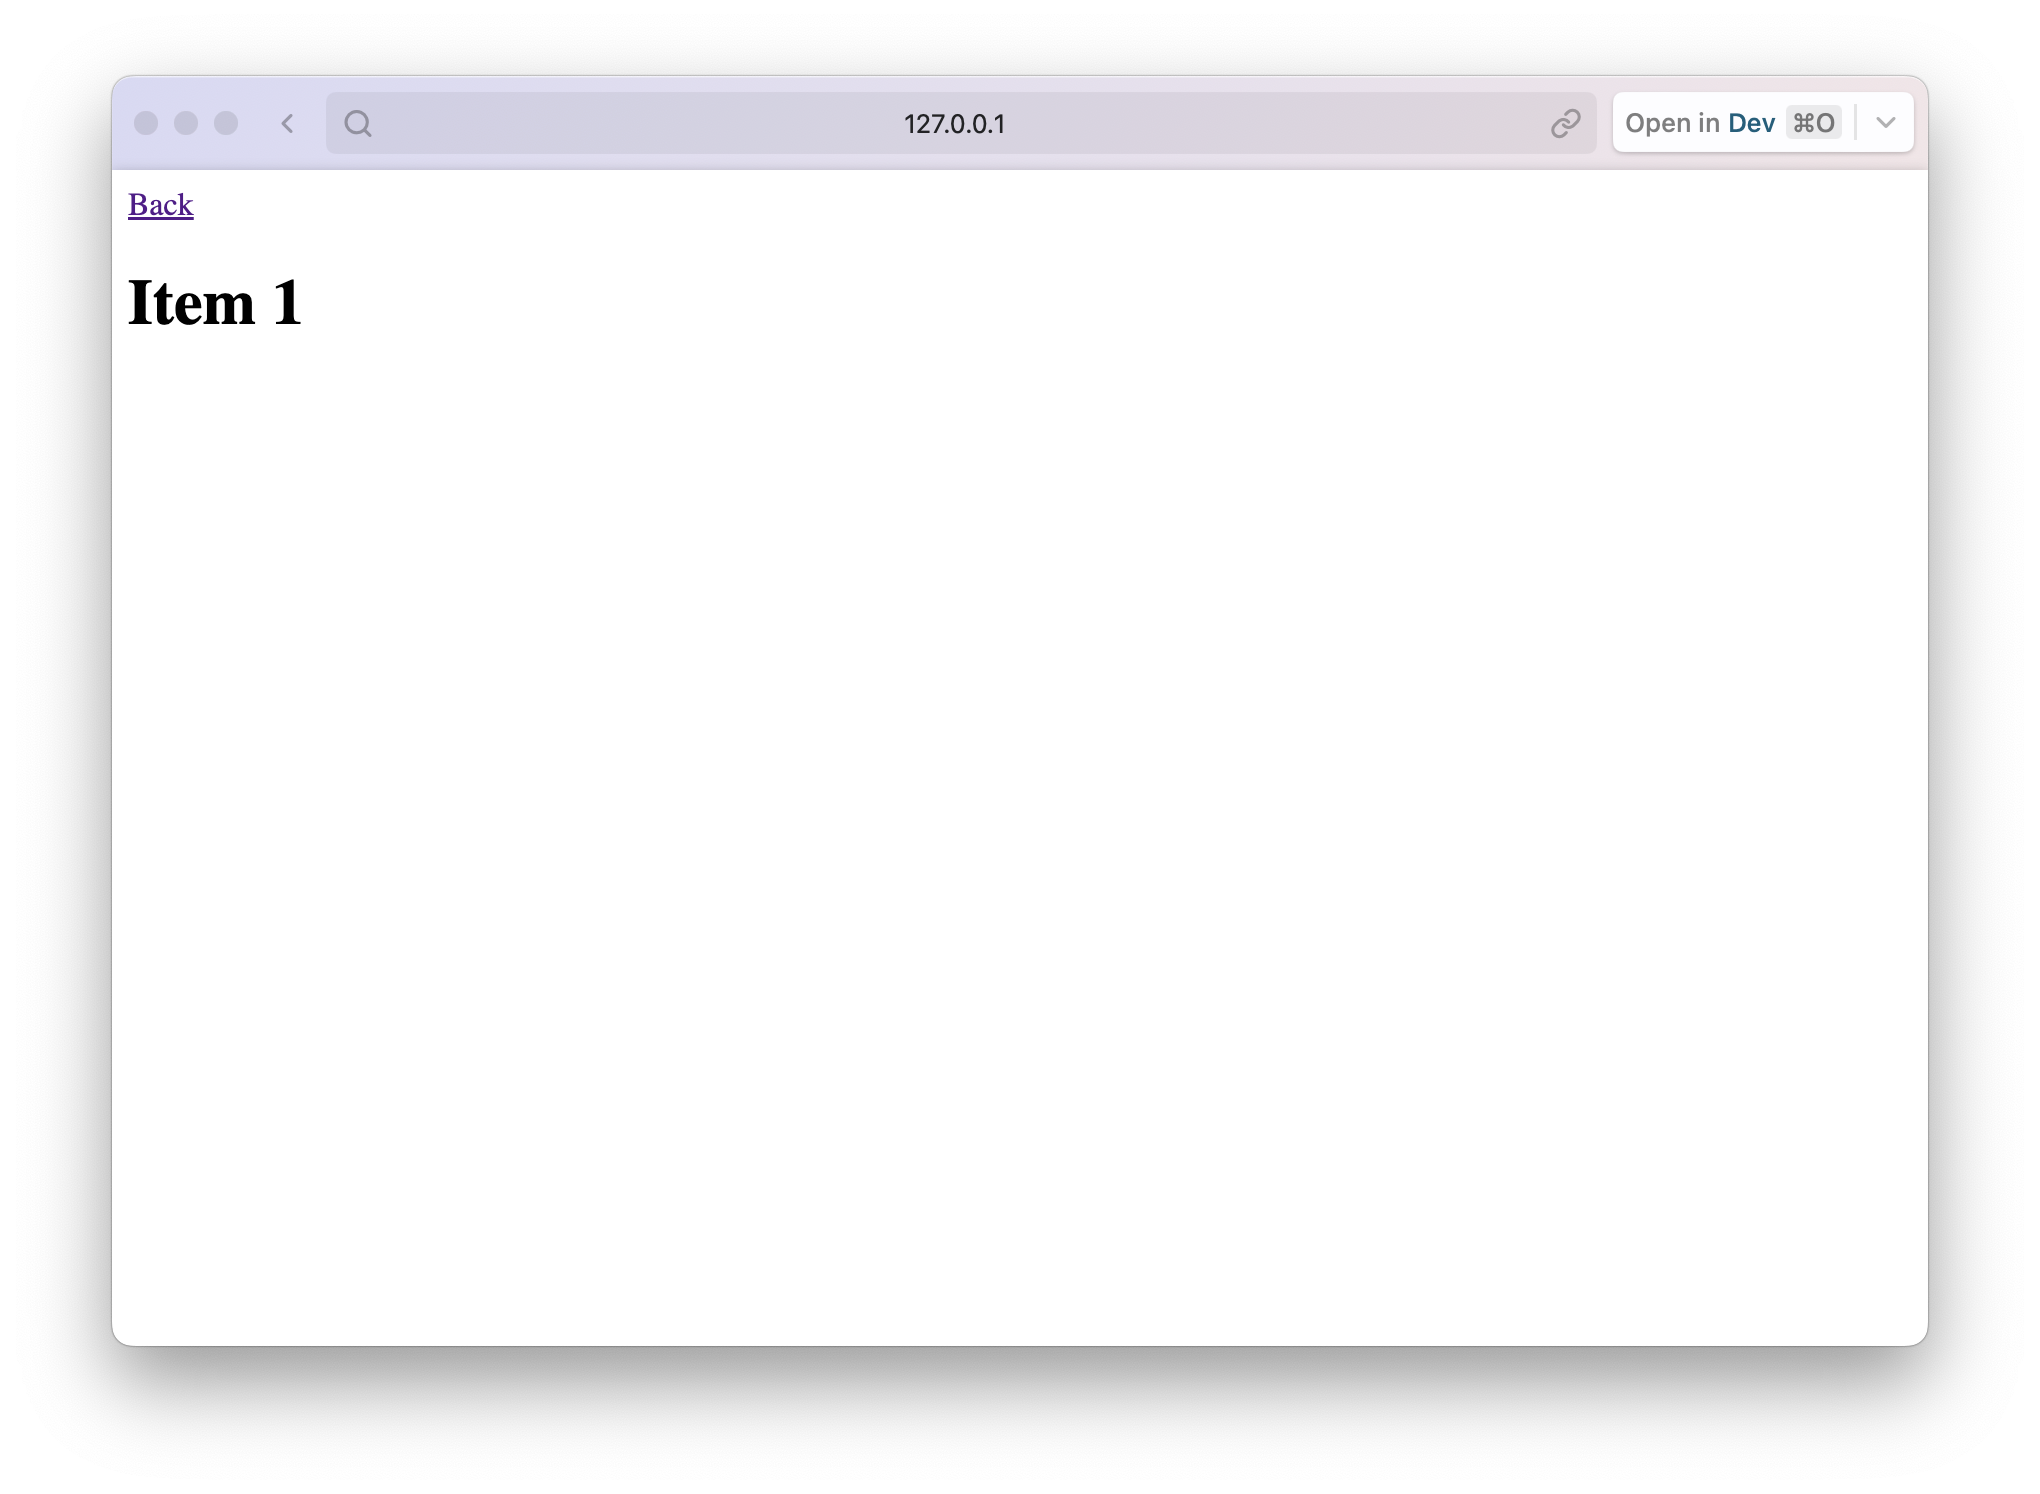
Then if we open up the PocketBase url `http://127.0.0.1:8090` and you should see the following for the index route and detail routes:
## Conclusion
Now you can build a new binary for both the server and client and deploy them both on the same server instance. 🎉
You can find the final code [here](https://github.com/rodydavis/pocketbase_astro_ssr).Related in Web Dev
generating-lwc-components
IncludedLightning Web Components with PICKLES methodology and 165-point scoring. Use this skill when the user creates or edits LWC components, builds wire service patterns, or writes Jest tests for LWC. TRIGGER when: user creates/edits LWC components, touches lwc/**/*.js, .html, .css, .js-meta.xml files, or asks about wire service, SLDS, or Jest LWC tests. DO NOT TRIGGER when: Apex classes (use generating-apex), Aura components, or Visualforce.
tanstack-query
IncludedManage server state in React with TanStack Query v5. Set up queries with useQuery, mutations with useMutation, configure QueryClient caching strategies, implement optimistic updates, and handle infinite scroll with useInfiniteQuery. Use when: setting up data fetching in React projects, migrating from v4 to v5, or fixing object syntax required errors, query callbacks removed issues, cacheTime renamed to gcTime, isPending vs isLoading confusion, keepPreviousData removed problems.
document-processor-api
IncludedProcess documents with Nutrient DWS. Use when the user wants to generate PDFs from HTML or URLs, convert Office/images/PDFs, assemble or split packets, OCR scans, extract text/tables/key-value pairs, redact PII, watermark, sign, fill forms, optimize PDFs, or produce compliance outputs like PDF/A or PDF/UA. Triggers include convert to PDF, merge these PDFs, OCR this scan, extract tables, redact PII, sign this PDF, make this PDF/A, or linearize for web delivery.
nutrient-document-processing
IncludedProcess documents with Nutrient DWS. Use when the user wants to generate PDFs from HTML or URLs, convert Office/images/PDFs, assemble or split packets, OCR scans, extract text/tables/key-value pairs, redact PII, watermark, sign, fill forms, optimize PDFs, or produce compliance outputs like PDF/A or PDF/UA. Triggers include convert to PDF, merge these PDFs, OCR this scan, extract tables, redact PII, sign this PDF, make this PDF/A, or linearize for web delivery.
tanstack-query
IncludedManage server state in React with TanStack Query v5. Covers useMutationState, simplified optimistic updates, throwOnError, network mode (offline/PWA), and infiniteQueryOptions. Use when setting up data fetching, fixing v4→v5 migration errors (object syntax, gcTime, isPending, keepPreviousData), or debugging SSR/hydration issues with streaming server components.
accelint-nextjs-best-practices
IncludedNext.js performance optimization and best practices. Use when writing Next.js code (App Router or Pages Router); implementing Server Components, Server Actions, or API routes; optimizing RSC serialization, data fetching, or server-side rendering; reviewing Next.js code for performance issues; fixing authentication in Server Actions; or implementing Suspense boundaries, parallel data fetching, or request deduplication.